
 This tutorial was generously donated my Ann Vanture of Paper Minis Mininatures
http://www.paperminis.com/. Thank you!!

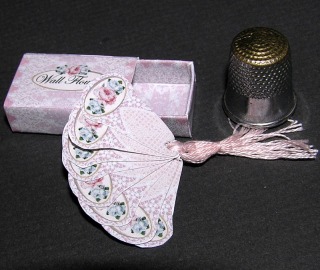
A Tassle
Supplies
Tweezers
Detailing Scissors (embroidery snips)
Black office binder clip
Large-eyed Needle
Embroidery floss or Silk Thread
Step 1
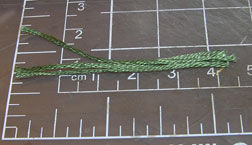
Pull off three long strand of the embroidery floss and set aside.
Cut the remaining piece into 3, 2" lengths.
Step 2

Step 3
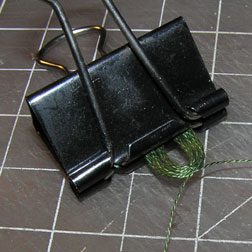
Take one of the long strands and tie together at the center of the fold. It is easier to handle if you thread it with the needle and then do the work.
Step 4
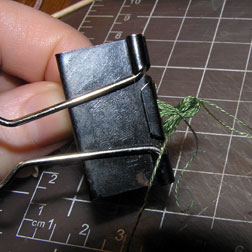
Step 5
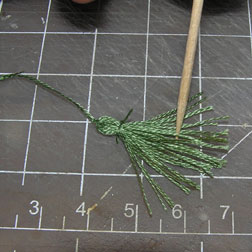
Take the toothpick and use it to separate and untwist the strands.
Step 6
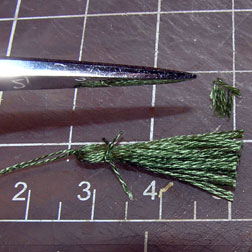
Snip the bottom ends of the tassel to make a nice clean straight line.
Use this wonderful little Tassels to decorate your Paper Minis from Ann, Dolls, Parasols, Hats, Dollhouse decor and on and on....
Thank you for visiting our Blog. Hopefully you enjoyed the tutorial.
Just as a gentle reminder, that tutorial was written to help to stimulate your creativity.
This Tutorial, Pictures, & Instructions are copy-righted & are not to be used as a tutorial of your own.
This means you may not copy and post this tutorial to your own website, or print it out and sell or distribute it as your own.


1 comment:
Great Tutorial. I love Ann V.'s tutorials. She is so creative and everything is spelled out step by step. Thanks for posting it for us.
Marilyn H., St. Amant, LA
Post a Comment