Wednesday, July 30, 2008

New Items to minidolls.com

Kathi has been at it again. Creating wonderful pattern for dollhouse size dolls and also a 6" cabinet size doll. One of the pattern is available as a dressmakers kit too. In 2 different color ways. The kit is limited as a limited edition silk was used.
The Ladies Combination and Kimono
Available as shown or in a green/ecru combination. Click here it view.
Other new patterns:
Fly Fishing Anyone?
Travel Case
For the 6" Cabinet Doll:
Her Underclothes
Her Dress
Michelle

Saturday, July 26, 2008

UltraSuede Light - New Colors

I have just bought a bunch of new UltraSuede light colors. They are all so wonderful and rich, soft and supple. You can view all of the colors here: UltraSuede on minidolls.com. Check out just a few:


Michelle, minidolls.com

Friday, July 25, 2008

Chapter 5 - The Bustle

Emilie now turns around so you can see her new bustle. Created using stuffed channels of pique over buckram, it is just the thing to hold out the backs of her skirts. Now I have said many times that I like to do things historically correct and I do. When we were creating our dolls, we were making many different items. I am going to say this was a transitional period as her suit is more a late 1860’s piece but this bustle is really in the 1870’s. Having fun and playing dolls was our first goal, period correctness game later. You can also see more of the corset construction and the lacing. I put the chemise ties down into the corset. She has such a pretty “do!”
Kathi

Monday, July 21, 2008

Limited Supply of Forget Me Nots

I have been able to obtain a very limited supply of these new forget me nots....so few I do not want to add them to my website. They are 3/8" across and are $3.50 per bunch. E-mail directly if you would like them at michelle_mahler@hotmail.com. They must be shipped priority mail because they need to be shipped in a box. But other items can be incluced for the same shipping price. Get them while you can! Michelle

Friday, July 18, 2008

Her Boots - Chapter 4

Christmas arrived during our project. My friend and fellow Doll Artisan Kate Forrest had “borrowed” some suede from me to make a shoe pattern for us. What we got was completed boots and purse for Christmas. Pat and I were thrilled.

I thought I would share the boots, and you will see the purse with the other accessories in a later edition.

Kate also made the wig for my doll, as, well, I am not so great at that! Okay, so now you know I do not do wigs. We all have to be lousy at something. I am good at many other things, though!

“Emilie, you can put your skirt down now.” (She is such a show off!) Kathi

Wednesday, July 16, 2008

Make a Miniature Padded Hanger

Don't you wish you had the closet space for all padded hangers for your clothes? Follow these directions to make a miniature padded hangers for all of your miniature creations. They deserve the best right? Kathi
Step 1
Collect all your supplies.
Wire, 28 gauge is nice, wire cutters, glue, 2 or 4 mm ribbon and something round as a 1/4" and 3/4" template. I used a wood dowels.
Step 2
Wind the wire around the dowel and twist about 3 times.
Step 3
Cut away one of the wires and leave the rest to make the actual hanger portion.
Step 4
Use the 1/4" dowel as a form to create the top loop for the hanger.
Step 5
Cut away excess wire at approximately 180 degrees. You can get a better shape later.
Step 6
Flatten the wire. Keep sides even, you want the left and right sides to be equal.
Step 7
The hanger wires should be flattened tightly. The left and right sides equal on either side of the hook.
Step 8
Begin in the center with a dot of glue. A light brushing of glue along the wire is okay. Wind the ribbon diagonally to one end of the hanger.
Step 9
When you reach the end, wind around the end and return to the center in the same fashion.
Step 10
When you arrive at the center wrap to the end the same as you did the opposite side.
Step 11
Complete wrapping back to center, glue the end and snip away the excess.
Step 12
Tie a small bow to accent the hanger. Bend the loop back and shape the hanger hook to your liking.
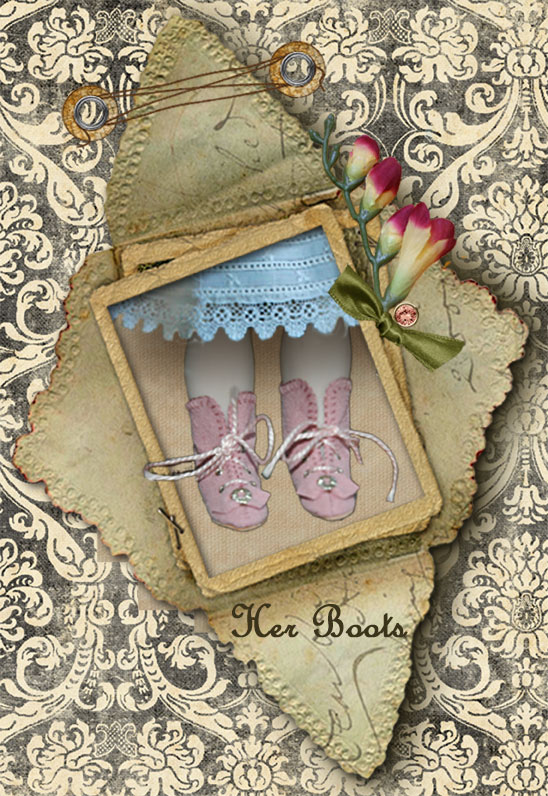
Hang your dress in the closet on the dressing screen. Make an assortment of colors to strew around. Use your imagination. These are simple and don't take much time.
Thank you for visiting our Blog and hopefully you enjoyed the tutorial.

Just as a gentle reminder, that tutorial was written to help to stimulate your creativity.

This Tutorial, Pictures, & Instructions are copy-righted & are not to be used as a tutorial of your own.

This means you may not copy and post this tutorial to your own website, or print it out and sell or distribute it as your own.
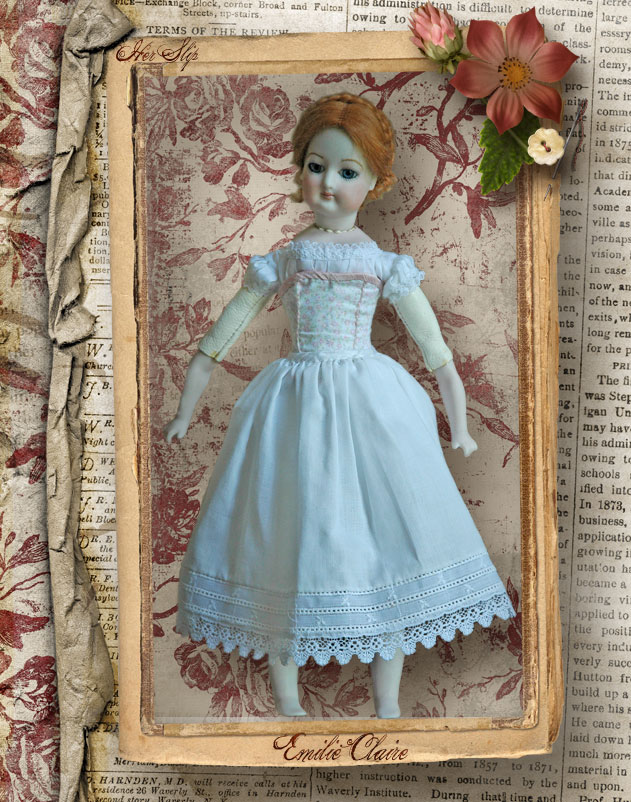
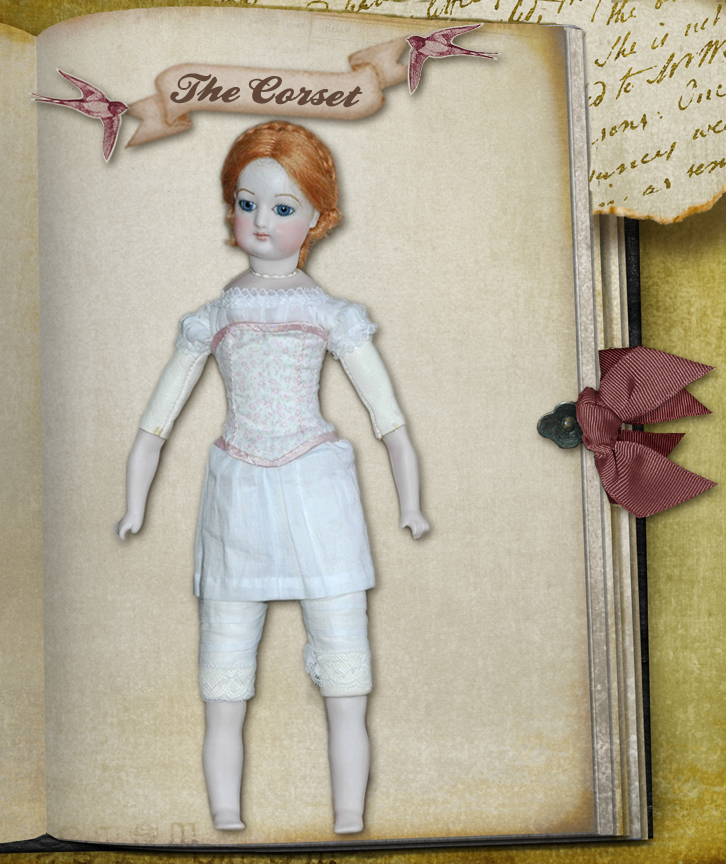
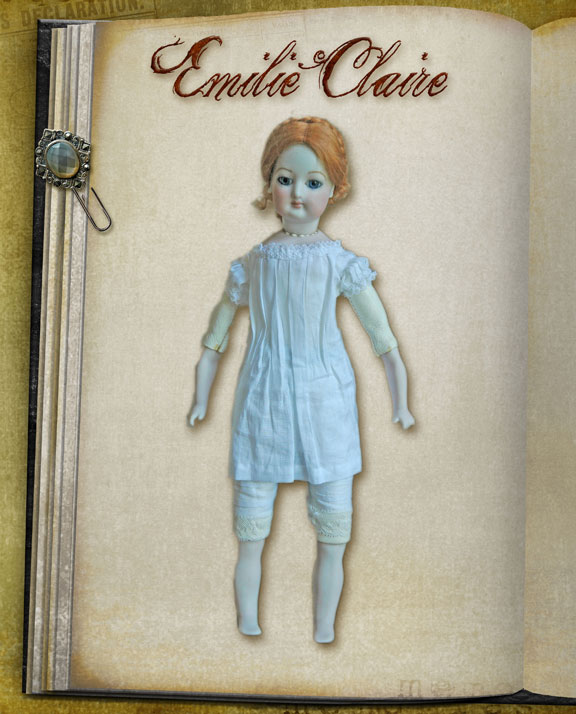
Tuesday, July 15, 2008

Limited Edition Silks New to minidolls.com

I have just made a purchase of these limited edition silks. I only have a limited supply...so when they are gone they are gone. Follow this link to view on minidolls.com. Pics below smaller than actual...see my website for better scale of design size.
Michelle Doll Artist's Workshop, minidolls.com

Abstact Silk Twill
Grey/Pink Paisley Silk Twill

Geometric Silk Twill Grey/Black Paisely Silk Twill
Green/Beige Floral Silk Twill

Monday, July 14, 2008

Chapter 3 - Her Slip

Emilie now models her slip. The mid Victorian period was one of opulence. The correct undergarments, an under slip, then hoops, and an over slip hiding the hoops would have been worn. For the sake of poor Emilie and the interest of truth telling, she does not have a hoop or an under slip. (I have not made a hoop, yet.) Therefore, we pretend! Emilie’s slip is made of fine Swiss batiste with rolled and whipped entredeux and Swiss lace edging. This slip will support the voluminous skirt.
(Please note: The doll stand is a bit large for this doll. No matter how hard I tried, she gets a fatter appearance. I promise it is the stand.)
Next time we will take a look at the garment progressing.
Kathi

Saturday, July 12, 2008

New Fabric - Silk Tissue Taffeta

Finally, Finally, Finally.... I found a Silk Tissue Taffeta almost made for miniature and smaller scale dolls. So fine and light weight but still crisp. And in 24 colors. It is a must have...You will fall in love with it!
Check it out here: Silk Tissue Taffeta
Here are a few colors:


For those of you familiar with this kit...you have had the chance to work with this wonderful fabric. It is the Orchid colored fabric shown here:

There are still a few kits available. You can find the kit here: Kit
Michelle

Wednesday, July 9, 2008

Emilie Claire - Chapter 2

The foundation of a building has to be strong to support the building and its activities. The foundation garments of a dress are just as important as they support the style, the silhouette, of the period. Just as fashions changed, the foundations changed as well. During the mid Victorian era, the corset supported the body and brought attention to a small waist.
Corsets were generally utilitarian, but corsets have been made of fancy fabrics throughout. Emilie has now added her corset. When making clothing for small dolls, especially in period dress, I make each layer using fine, thin fabrics. The thinness of the fabrics allows for a doll that is not overwhelmed by the sheer quantity of clothes that women wore during that time. The corset pattern, and the pantalets and chemise shown earlier, is from Alice Leverett's Ultimate Fashion Doll ™.
Emilie wears a corset of fine Liberty cotton with a delicate rose pattern. The corset, lined in china silk, has eyes in the back laced with ribbon. Silk bias ribbon binds the top and bottom edges. Next time, we see a slip. Kathi

Sunday, July 6, 2008

The Story of a Doll Named Emilie Claire.

Michelle and I thought it might be interesting to see a doll and her garments go together. I made this doll, a 12" Lady Jumeau French Fashion quite some time ago. However, she sat around naked for so long I was afraid the dolly police were coming every time the doorbell rang! So, two of my friends and I set out to make new clothes for our dolls. When we do this, each one of us makes the pattern and teaches the class for the doll, and when we get together for birthdays, we get presents for them as well. If you do not belong to a club, this is a wonderful way to play.
(May I say that this may not be perfectly in keeping with the period as we do try to get it right with the historical dress?)

I thought I should name her and I love the name Emilie Claire. Therefore, she is Emilie Claire. I had not taken a picture of Emilie in body, but she is a porcelain head with set in blue glass eyes. Her body is leather and stuffed. This figure is created from scratch by me so, be kind.

Emilie wears a set of drawers that have an open seam in the middle. You might call them pantalets. The drawers were seamless for convenience. Imagine lifting all of those slips and skirts! (Another little tip: Now you know why the Can-Can was so bad at the time. There was full mooning when those skirts went up.)

Here you see Emilie wearing her pantalets and chemise. The chemise was a utility undergarment of fine cotton, easily washable. This garment protected the outer garments from perspiration and dirt. I imagine it protected the skin a bit as well from the corset stays.

Next time we look at her corset!
Kathi

Thursday, July 3, 2008

Fourth of July - Picnic Time

It's that time of year again, pack the picnic basket and go out somewhere. Sit by the river, listen to music, watch fireworks, EAT. I had received a wonderful country hutch for a birthday present last year and wanted to find a way to show case it. Space is at a premium here, especially as I do not like a lot of clutter. (I didn't say I didn't have any clutter, just that I didn't like clutter.) A way for me to play with my miniatures and showcase some of the things I have collected is to make a shadowbox display. (Wall space I have!) I purchased a black shadow box from Hobby Lobby that was the perfect size for my little hutch. With the assistance of some art form the internet (not for sale, for personal use only) I framed up the pictures, added the Reutter Porzellain dishes to the hutch. The shelves are decorated with many things I have made either from kits or from scratch. Some of the items are expensive collector pieces, and others are "cheap" plastic. Al Chandronnait made the baskets you see and the rooster is an Olszewski miniature. (I surely hope I spelled it correctly.) I made the flowers from scratch and the pumpernickel was my first loaf of polymer clay bread. (Now I think I am an artist!) Anyway, try it. Give your project some thought, go visit your local miniature or hobby store, or find it on the internet. Create your dreams, or savor a memory in a small space and at your fingertips. Kathiok..I am at it again...Creating digitally...Have a Safe and Happy Forth! Michelle
I could not resist these either: