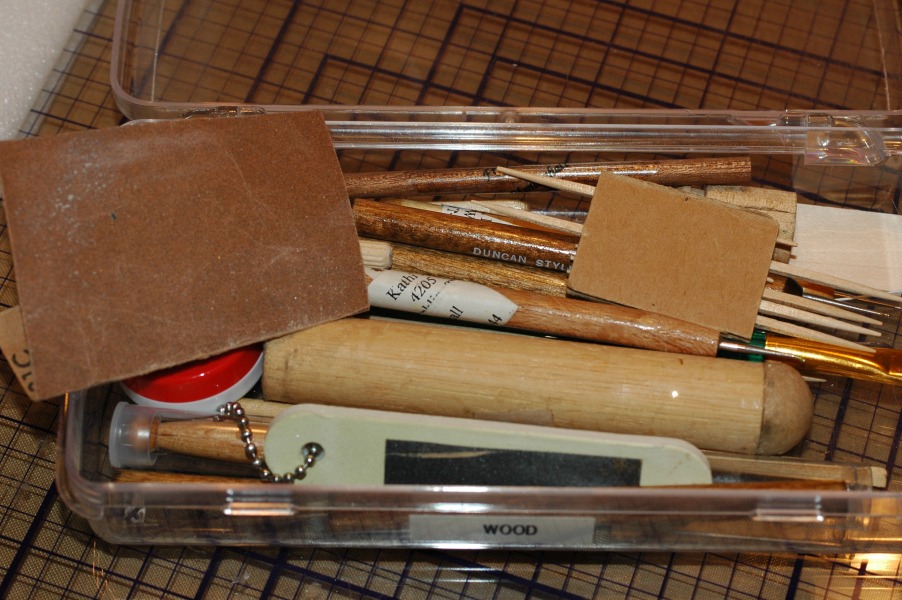
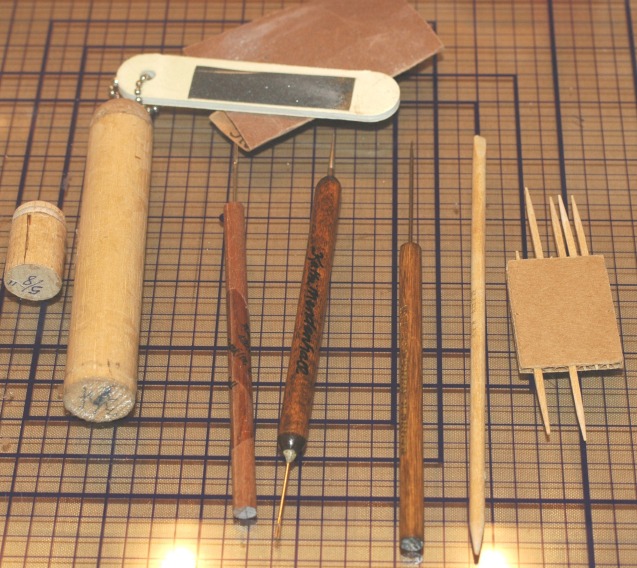
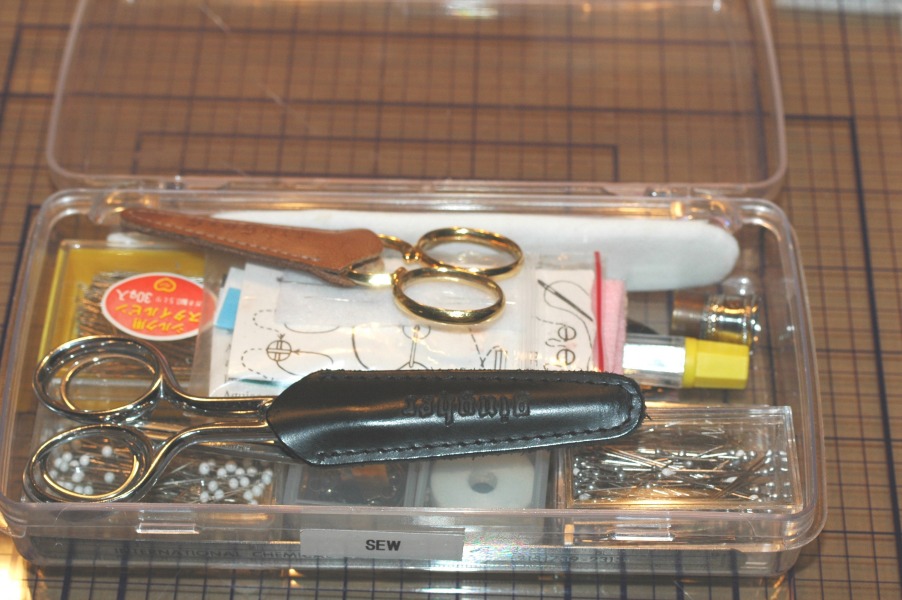
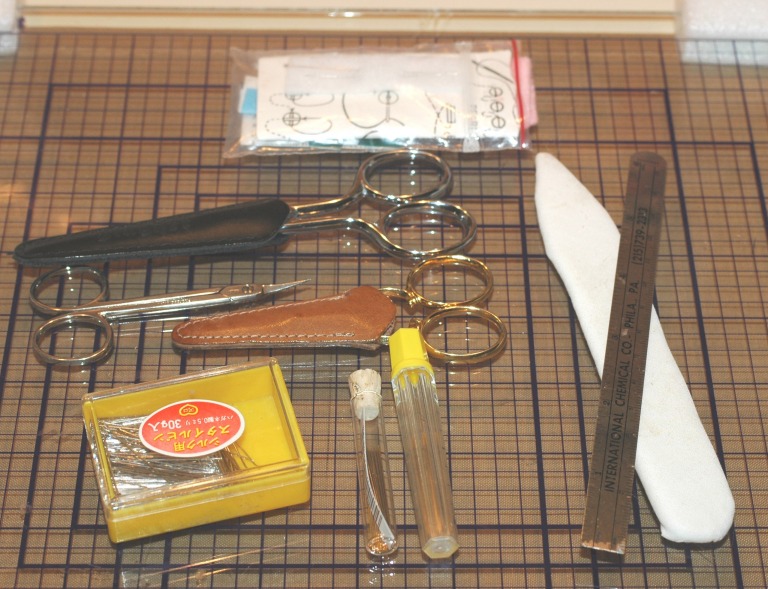
Kathi’s Rules of Thumb (and other body parts)
A lot of people working in the miniature world have a great eye for what is and is not “in scale.” Some folks have it naturally and some of us have had to learn it the hard way. Good News! I have devised a set of rules that a beginner can use to be sure that valuable dollar is not wasted unnecessarily. I drew these up as I was dressing figures and am often found in the store with hands, feet and legs accompanying me. When you get the feel of this and then get more experience then feel free to break the rules and take chances. So, here are my “Rules of Thumb” (and other body parts) for a beginner or any miniaturist to get it right. The rules are useful for dressing furniture as well.
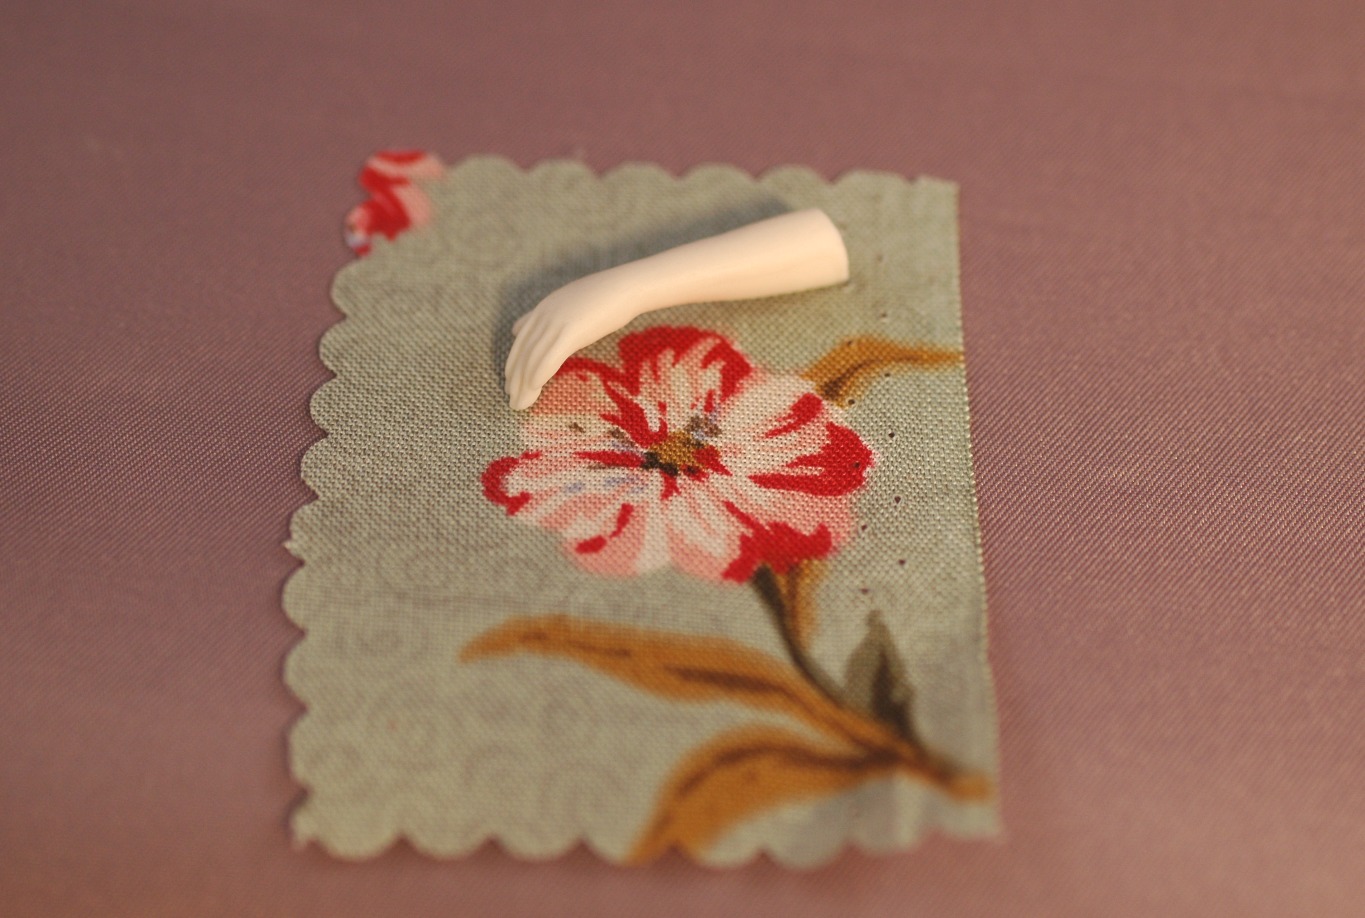
The Hand Rule developed by accident. I was considering a dress with an indecently large cabbage rose. The more I looked at it the more I thought I should be sitting on it and not wearing it. I noticed that my hand was about the size of the largest print I should wear and thought, “If it is bigger than my hand, I am not wearing it!” Well, I figured that rule would fare me well in fabric selection for the reproduction French Fashions that I dress and would thereby fit for the 1/12th scale miniatures as well. The “Hand Rule” was invented. Ultimately, I applied the same logic to many other things and the “Rules of Thumb” were invented.
Before we discuss the rules, let’s discuss when to apply the rules. When you are having fun and creating for yourself or are having fun with fantasy anything, don’t apply the rules, just have fun. When you are placing a doll in competition, apply the rules and a few minor exceptions that we’ll go into later, and have fun. When you are being juried, Artisan or Fellow or serious doll competition, strictly adhere to the rules. And, of course, the exception is application to a fantasy category; however I would NOT deviate far from the rules. I speak from experience. But you still must have fun, hard work fun, but fun just the same.
The Hand Rule
If the design on the fabric is bigger than the doll’s hand, pass it by. Think about it, would you wear a design that is bigger than your hand? When would that be? That would be upholstery, wouldn’t it? Scarlett wore draperies, but they were solid velvet. Take your doll hand with you to check the pattern when you are selecting a fabric for the next project whether from your stash or in the store. (They’ve gotten used to me with body parts in the store.)
Exceptions to the hand rule are:
· Pleating, smocking or other fabric manipulation
· Fabric you are going to be embroidering over, kind of filling in the design
· It is a great accent or a trim
· The character requires it. i.e.: Cher’s “Laverne”
· You just love it.
No
Maybe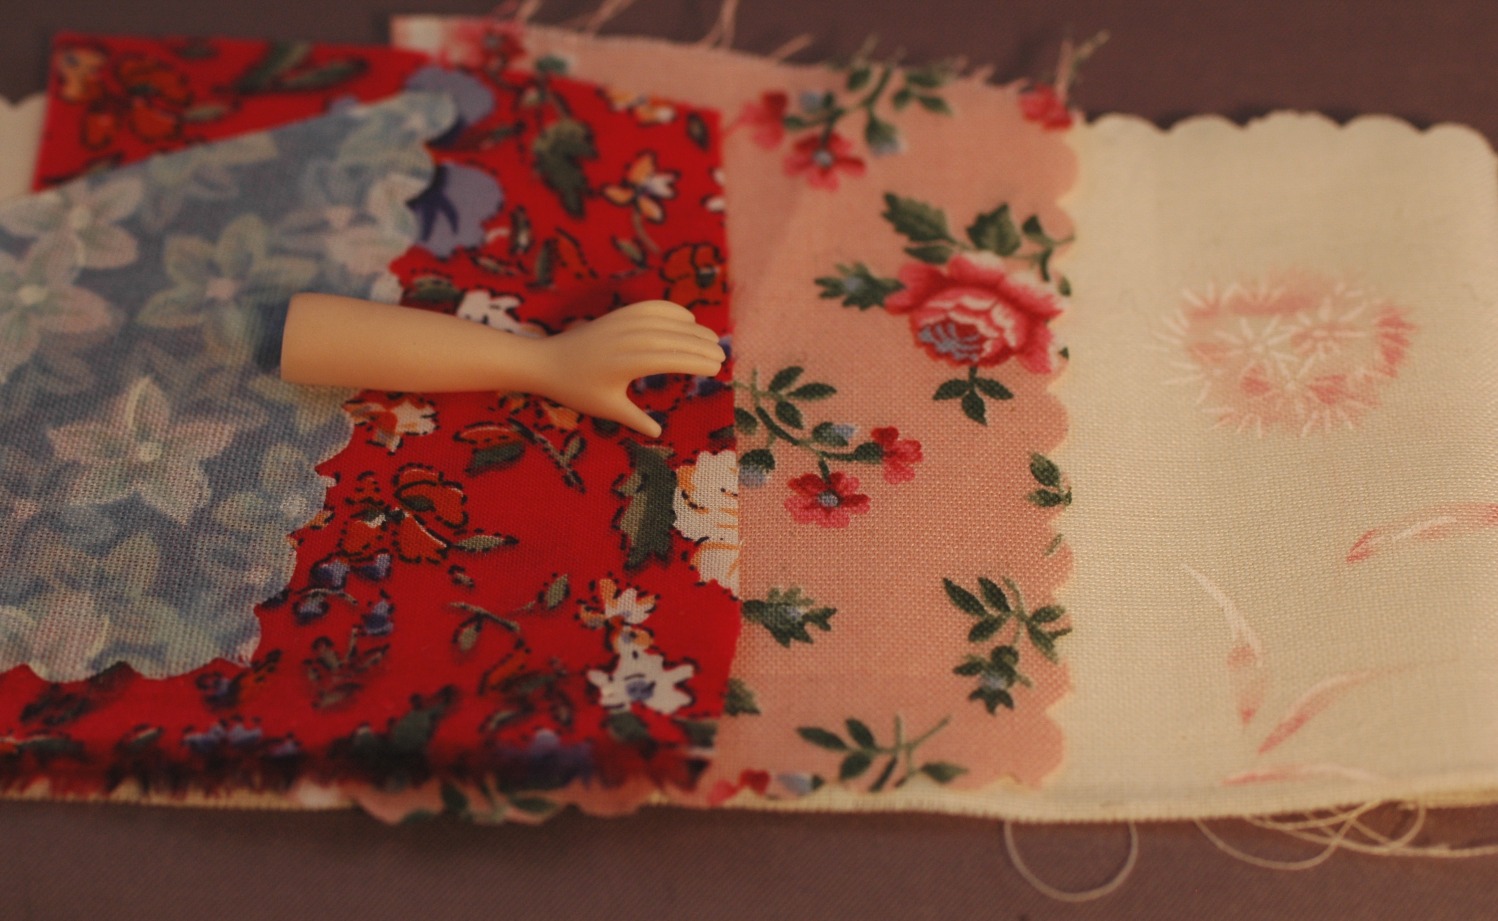 Yes
Yes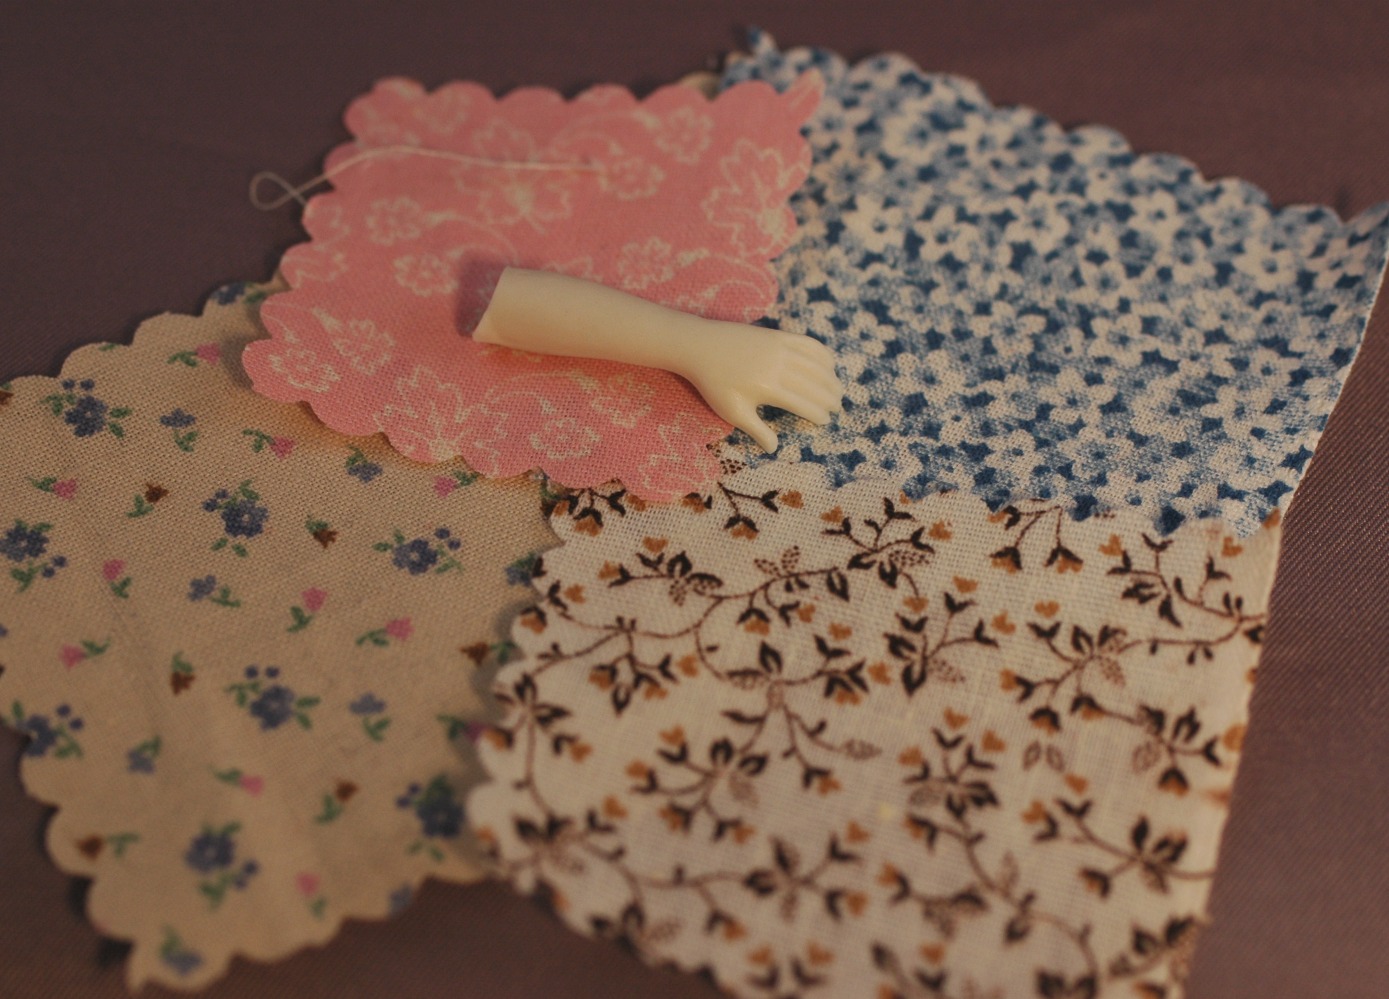 Perfection
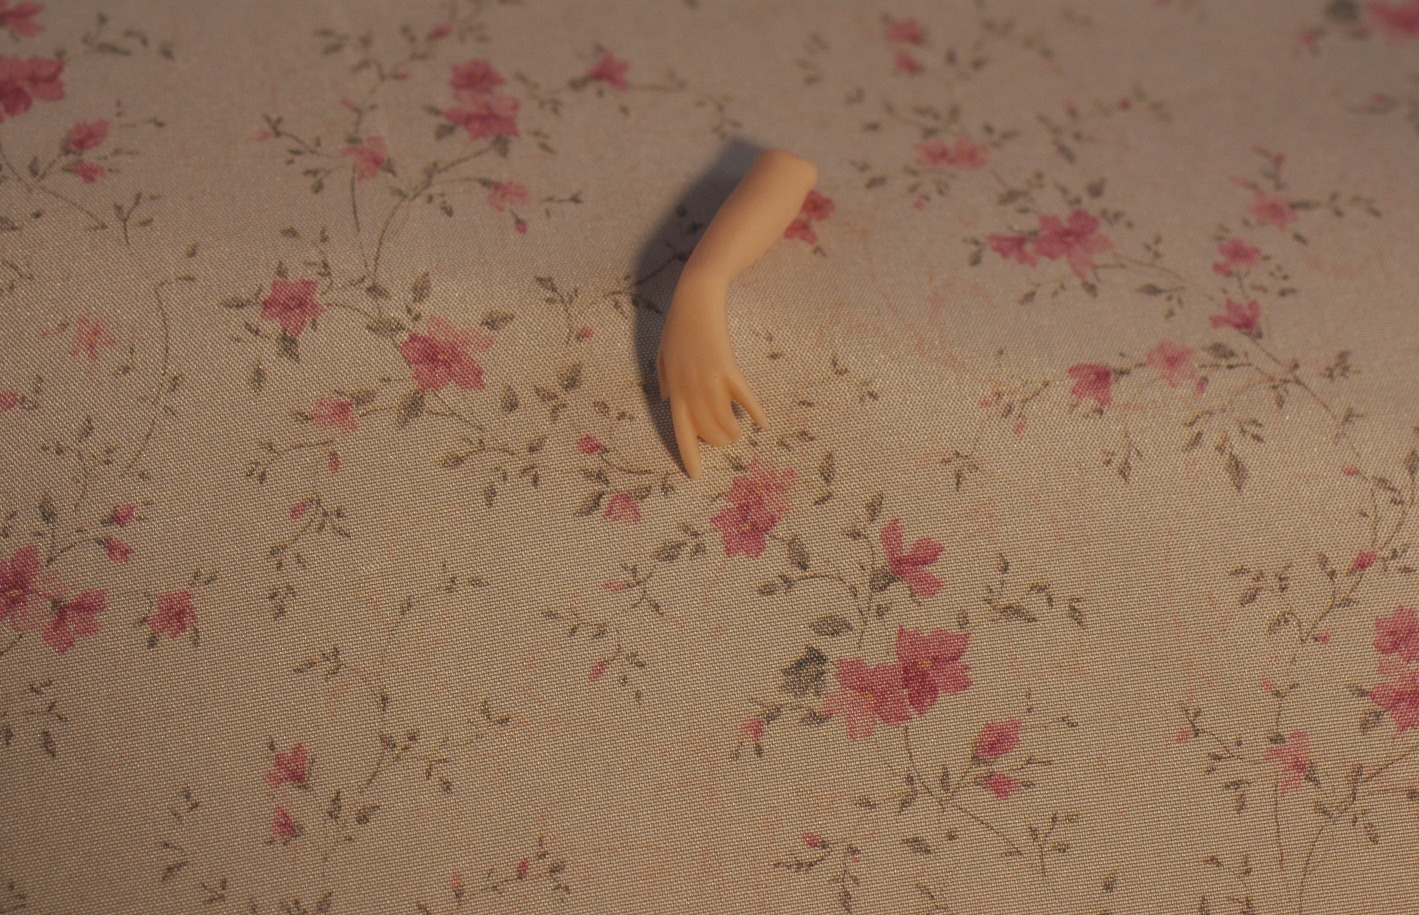
The Partial Hand Rule
Relax your hand. The thumb and index finger bend toward each other. Look at the bend, the distance between the bend, or the measurement of the “scoop” is about an inch and a half and is the same for figures. Straps for luggage and purses should not exceed this measurement. Gentlemen, you might need to think about how these rules affect your endeavors, and ask a woman to model. The rules are the same for men; however, the rule is man to man, and woman to woman for size relationships.
Exceptions to the Partial Hand Rule are:
· I can’t think of one. You tell me.
The Index Finger Rule
A strand of fiber or thread should not be long enough to go over the finger. Think about this one. Everyone gets tripped up by this one at one time or another. The pattern is a perfect size, possibly gorgeous silk brocade, but if the threads that pass over and under are greater than the finger, the threads will show up and be out of scale. A quarter inch in real life is no big deal. In the miniature world no threads pass openly for 4 inches, disaster! My cat would have it in seconds.
The Thumb Rule
If the trim is as thick as a thumb or even a pinkie, it is too thick. I cannot think of a single trim that would work, well maybe on a sofa, certainly not in dressmaking. If the pile of the fabric is that thick, be sure it is a carpet or a fur. Don’t wear the carpet and be conservative with furs. Most in scale miniatures are overwhelmed by natural furs. There are exceptions, shaved beaver for example, and I have seen some pros really make it work. If you are a beginner, try things, but in general, the pile is too thick.
The Foot Rule
If the leather is thicker than ¼ the depth of the foot pass it by.
Exceptions to the Foot Rule are:
· The leather is perfect for the sole of the shoe.
· Platforms and Wedges
The Eye Rule
Take note the size of your pupils. Your beads or sequins should not be larger than the size of the pupil of the eye.
Exceptions to the Eye Rule are:
· Big Earrings of the 60’s
· Big paillettes (sequins) on dresses in the 60’s, but then not bigger than the eyeball
· You are working in Fantasy category
· You love it.
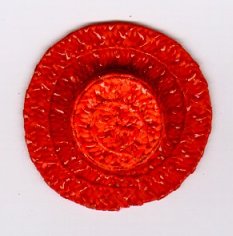
Mini Sequin Punched from a Full Size Sequin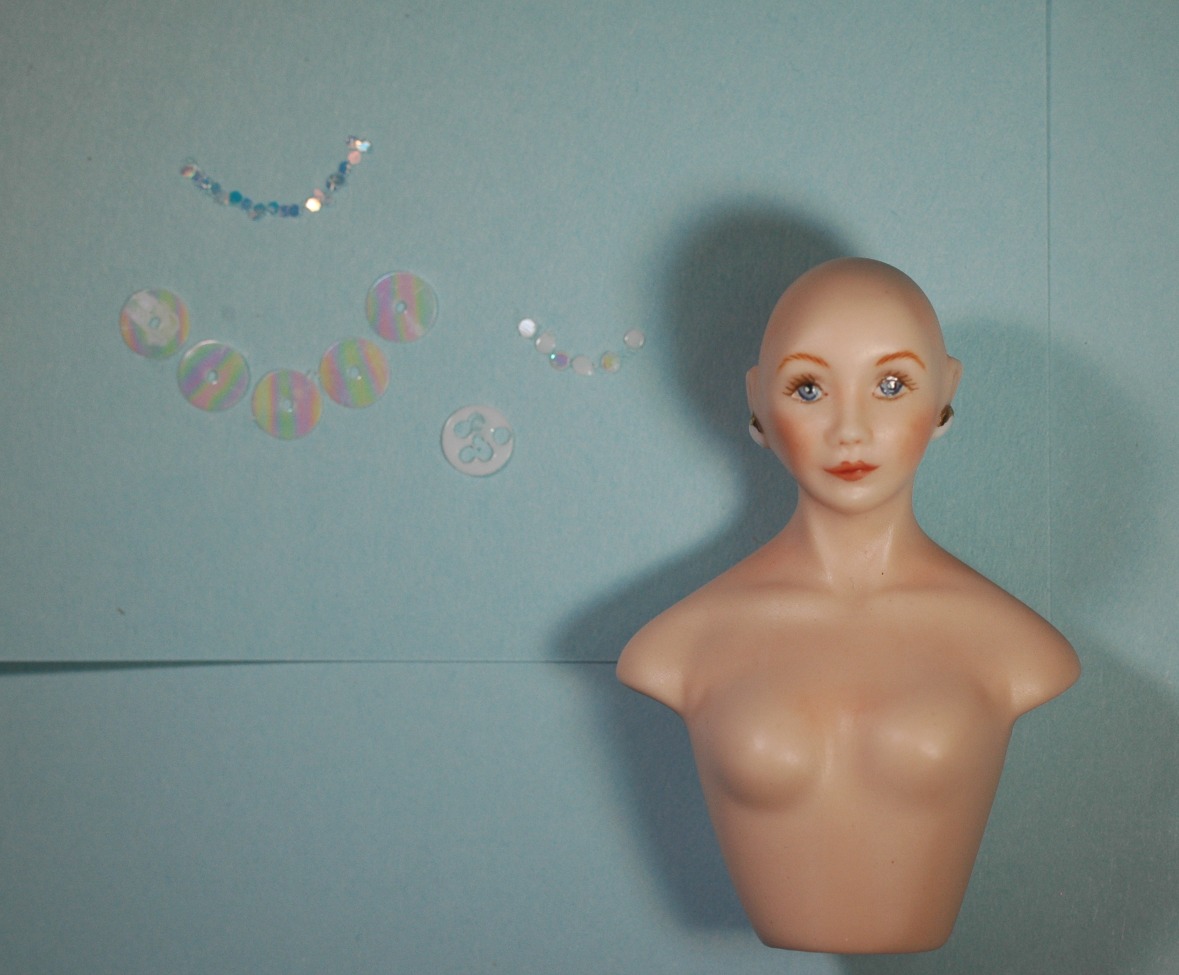
The Shoulder Tall Rule
This is a little loose, but I go by it anyway. In general we make lady dolls 5 1/2” high. That makes the shoulders about 5” high. A trunk is about 5” wide. (Even a vertical Steamer is 5 feet tall, which blew me away when I learned that, I thought they were taller.) So the trunk should not generally be wider than 5” or taller than 5”.
Exceptions to the Shoulder Tall Rule
· The only trunk that should be bigger than your doll is if it is being displayed in it.
The Shoulder Wide Rule
Hat brims are not wider than the width of the shoulders. In miniatures this is crucial if you are being juried. (Why take away from that beautiful face?) Miniature doll hat pins are rarely more than ¾” long. (My general rule is, have fun with hat pins and remember the Eye Rule.)
Exceptions to the Shoulder Wide Rule:
· Ascot Dress in “My Fair Lady.” (Although if you really look at it, as exaggerated as it is, it is placed on the side of her head so the brim really doesn’t exceed her shoulder width. But that is a really big hat!


And don’t forget most suppliers that specialize in "miniature fabrics" have done the hard work for you (the above and more are available thru minidolls.com). Be sure to buy from them if you are unsure. And when visiting a fabric store, don’t be overwhelmed. Look at the fabrics and trims for awhile. You’d be surprised what will come to you.
I had a particularly hard problem to solve with a dress challenge recently. I told my husband I had to go to the fabric store and think for awhile. I slowly walked the aisles; a solution had to be hiding there. I thought I would know if I saw it. Bingo? Keep an open mind. Have Fun!

 This was my first Tutorial many years ago...but it still a basic and deserves repeating. Michelle


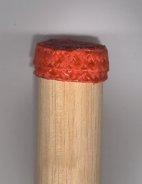


 Bunka is a knitted rayon crepe thread. The best Bunka is usually if not always made in Japan. Its primary use is to embroider with. This is called painting with thread. A sample of this embroidery is to the left.


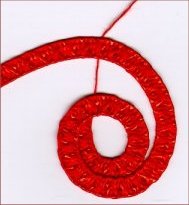
 Here is a picture of a customer of mine, Tres Beertema of The Netherlands, carpets. These are works in progress showing 1":1' cartpets made of Bunka.