Make an Apple Blossom

Gina Bellous has so generously allowed us to reprint her tutorial on Cold Porcelain Apple Blossom flower making. She has other REALLY nice and informative tutorials on her site:
GinaBellousDolls.com If you hurry you can also purchase one of her in stock doll kits that are EVER so hard to purchase.
There are instruction to make your own cold porcelain clay included. But if you do not want to or don't have time to I stock cold porcelain clay on my site. Click Here:
Cold Porcelain ClayThank-you Gina! Now everyone get to flower making!
Michelle minidolls.com
What is Cold Porcelain?
Cold Porcelain is not actually a real porcelain clay. It's name comes from the effect achieved with the finished product. Porcelain is a clay body that requites a high fire temperature in a kiln to vitrify.
"Cold Porcelain" is a mixture of cornstarch, water, glue, glycerin and cold cream. It is mixed up and heated on a stove until it forms a solid clay type ball. It can be colored with acrylic paints or virtually any coloring medium.
It's best feature is that it air dries to a very hard porcelain like substance. It also shrinks quite a bit, very much the same as porcelain does when it is fired in a kiln, making it a very useful product for many applications.
Materials for Cold Porcelain Paste
3/4 cup of white glue
(any child's white school type glue)
1 cup cornstarch
1/2 cup of water
1 teaspoon of cold cream
(any thick moisturizer like Ponds, Curel, etc)
1 teaspoon of glycerin
(available at any drug store or pharmacy)
Making the Clay
Over a medium heat, add all ingredients in pan except the cornstarch and mix together until it is smooth over medium heat. Stir constantly for a few minutes. Slowly add cornstarch. Continue stirring (this is important) until it forms a ball. Remove from heat. Let it cool just a bit so you can handle it and knead it with your hands.
The clay should be very smooth and soft. It is important to Keep in it an airtight bag. Wrapping the clay in cellophane and then putting it in a zip-loc bag will help to keep all air out. If any air stays inside the bag, the clay will harden and be ruined.
When working with this clay you can use extra cornstarch to keep it from sticking to your fingers or you can use cold cream to moisten your fingers.
It is sort of like making bread dough when you are baking. When you are working with bread dough sometimes you need to add more flour (cornstarch), or you can oil your hands to keep the dough from sticking (cold cream).
Materials for Cold Porcelain Flowers
1 batch of cold porcelain clay
1/4" heart paper punch & leaf punch
(Fiskars makes many different shapes)
Acrylic Paints: pink, lt. green, burgundy, dk. green, yellow
Very fine wire, Tacky glue, toothpicks, tweezers, brown or dk. green thread, Kemper Ball stylus
(small ball has been cut off and ground to a point)
Clear No Hole Beads & Crystal Snow White Ultra Fine Glitter
Coloring the Clay
Next we will mix some acrylic paint into small portions of the cold porcelain to make the petals and leaves. Keep in mind that when coloring your cold porcelain the acrylics help make the clay less transparent, and add a lot of color. A little goes a long way. It dries much darker, be careful!
Break off a small chunk of the clay and roll into a ball. Add a small amount of acrylic paint to the clay and knead the paint into the clay until color seems uniform. You may have to keep adding cornstarch so it won't become too sticky. Wrap tightly in plastic wrap and set aside.

I would suggest making a very pale pink (blush color) for the flower petals, a darker pink for the flower centers & a light leaf green color for the leaves. Be sure to keep those little balls wrapped very tightly in plastic wrap so they don't dry out.

Dip the tip of a piece of fine wire into some tacky glue as shown in the photo. You don't need quite as much as the photo, but I wanted to be sure you could see the glue.

Roll a very tiny ball of medium pink clay and add it to the tip of the wire. The glue really helps it to stick. Shape it more into a narrow oval (think of a stamen on a flower) That is what we are making.

While "stamen" is still wet, dip it in the container of "Crystal Snow" to coat it with a sugary sparkle. I personally like this little effect as I tend to like my flowers a bit sparkley when I am using them in my doll's hair or gowns. Set aside to DRY!!! (you can make several of these stamens ahead of time, you can never have too many).

Now you will need your 1/4" heart punch You can use a smaller one if you like as apple blossoms really are very small, but I like to make some of them larger, and besides it will be easier for you to learn on them if they are a bit bigger. Take a small ball of pink clay & flatten it out as thin as you can get it. Use plenty of cornstarch to keep it from sticking to your hands.

Be sure to dust the flattened out clay with cornstarch to keep it from sticking too much (it will stick a bit)to the heart punch. Carefully position the clay in the punch and "punch it out".

Use a toothpick to help push the hearts through the punch & let them drop to the surface below. Try to make them as thin as possible. Try not to touch them right away as they are very fragile. Let them set up a little.

Carefully place a heart cutout on your index finger. Use the ball end of the stylus to cup the petal and use the pointed end to add tiny detail lines. This is a good time to help thin out the petal if needed.

Gently dip the pointed end of petal in tacky glue (or you can add tacky glue to the stem). Lightly press the pointed end to the side of the stamen. We want the stamen to stick up so be sure to place petal near the base of the stamen.

Repeat the cupping and forming with the next petal. Add it to the stamen overlapping the first petal. We will continue going around the stamen to add 5 petals total. Each time one edge will overlap the last and the other edge will go under the next petal.

It is hard to see in this photo but there are 3 petals in place. Each one overlapping the previous petal. I don't know about you, but this is exciting to me! Our flower is really taking shape.

Petal # 4 continues it's journey around the stamen. As tiny as this flower is, you can really see the small details helping to create the illusion of a real flower.

Petal # 5 is now in place. You can see clearly in this photo. How each petal overlaps the last one. Now we will just set this flower aside to dry a bit. It can be just a couple of hours or overnight.

Our flower is really taking shape now but we need to make some leaves.
You will need your ball stylus, tacky glue, a leaf punch & some green clay. A magnifying lamp will be helpful if you find it difficult to see tiny things well. Flatten out a ball of the green clay like you did with the pink clay. Make it as thin as possible. Be sure it is dusted with cornstarch so it wont stick to the punch. Pictured are two different leaf punches, either one will work fine or you can use a large teardrop punch (my favorite, but I couldn't find it).

Gently pull the clay into the slot on the punch. Press down firmly and hold the punch down so it can't pop up. It will easier to remove the clay this way.

While still holding the punch closed turn the punch over and use either a toothpick or the pointed end of the ball stylus to gently remove the punched out clay. Let it fall to the table below.

Here are some punched leaves. They will need to set up a bit. If you are going to be away from your work for a bit, you can cover the cutouts with a piece of lightly moistened plastic wrap.

Next we will paint the details on our flower while the leaves set up a bit. A simple coated paper plate is the perfect palette, and disposable! I used burgundy, rose, beige, yellow, brown & three different shades of green. A light, medium and dark hue. These are just everyday normal bottle acrylics.

This will be our final process.
We will paint the fine details on the flowers & leaves.
You will need a very fine 18/0 liner brush, acrylic paints, water, & clear no hole beads A magnifying lamp will be helpful if you find it difficult to see tiny things well.
Be sure to water the paint down We want it to go on as a wash and not become chunky on such a delicate flower. Mix yellow with some beige to tone it down a bit. Add a wash around stamen on center of petals.

Use water downed burgundy to carefully go along some of the outer edges of the petals. This is where a photo or live flower model come in handy. Apple blossoms have random edges of color, but not all over. Use a tiny bit of water to help blend the paint.

Look how lovely and realistic the petals have become. Keep the paint simple. Don't over do it!

Let's not forget the back. Make tiny radiating lines on the petals with burgundy & some rose paint.

Now it is time for even more detail. This will give the tiny flower even more depth! Use medium green mixed with dark brown and put the finest line around the stamen very close to the center of the flower.

Lets' not forget the back of the flower. Paint the pointed parts of the petals green and make tiny triangular shaped areas to simulate the tiny leaves that often surround the base of a flower. Amazing effect!

Add some tacky glue around the center of the flower very close to the stamen. Use a toothpick or the pointed end of your ball stylus to add some tiny, clear, no hole beads around the center of the flower. When this dries, it will really sparkle like the sample in the picture at the top of the page.

Now it's time to add some leaves. I like to put them on first and then paint them. Use the ball stylus to shape and cup the leaves just like we did with the petals. Dip the stems of them in tacky glue and add them to the wire stem randomly around the flower.

Use several thin washes of the three green paints along with the dark brown and even a bit of burgundy. Keep the washes light and go back and add more coats as needed. You can paint the leaves while they are still wet or wait until they dry. Either way works. The paint blends a bit nicer on the slightly damp leaves.

That's it! You made an Apple Blossom.
If you want to make the buds, just use a dark color thread. Dip the end in glue and add a tiny round ball of med. pink clay to the end. Let dry. Cut the thread shorter and twist 2 or three buds together and secure with glue. Add the painted details like we did with the flowers. You can brush the tips of the buds with glue and dip into the crystal snow to give them a tiny bit of sparkle.
 Lilac:
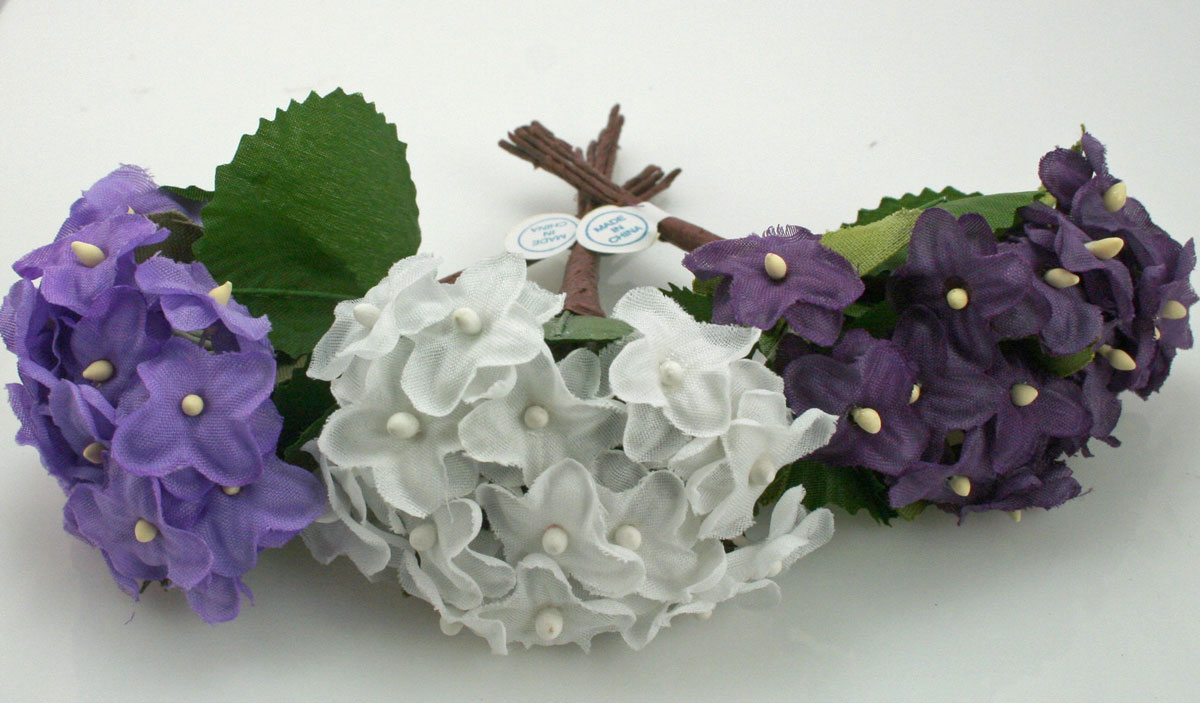 Rose Bouquet:
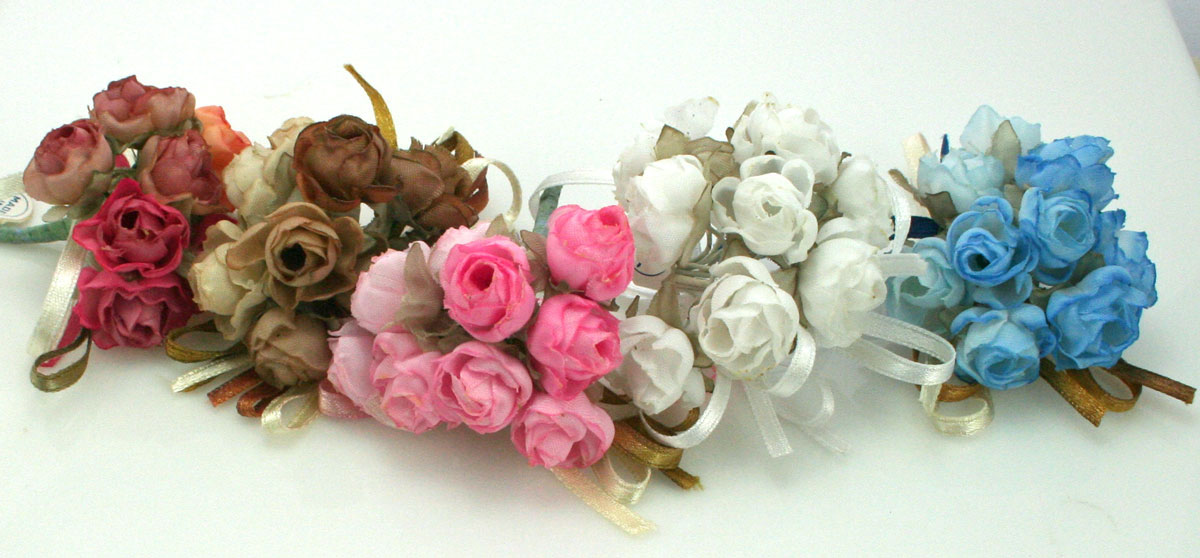 Posy:
Posy:


 Gina Bellous has so generously allowed us to reprint her tutorial on Cold Porcelain Apple Blossom flower making. She has other REALLY nice and informative tutorials on her site:


 Here are some punched leaves. They will need to set up a bit. If you are going to be away from your work for a bit, you can cover the cutouts with a piece of lightly moistened plastic wrap.
 Next we will paint the details on our flower while the leaves set up a bit. A simple coated paper plate is the perfect palette, and disposable! I used burgundy, rose, beige, yellow, brown & three different shades of green. A light, medium and dark hue. These are just everyday normal bottle acrylics.


