Fabulous Miniature Doll Artist Anna Hardman and graciously lets us publish her corset tutorial on our Blog. Thnx Anna!
You can see more of her fabulous figures on her website
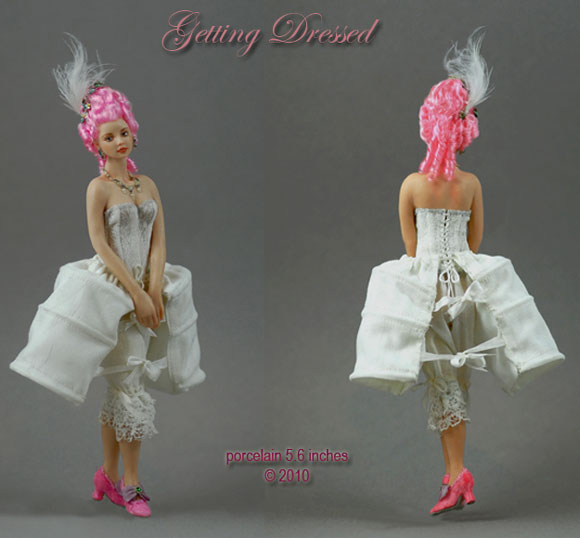
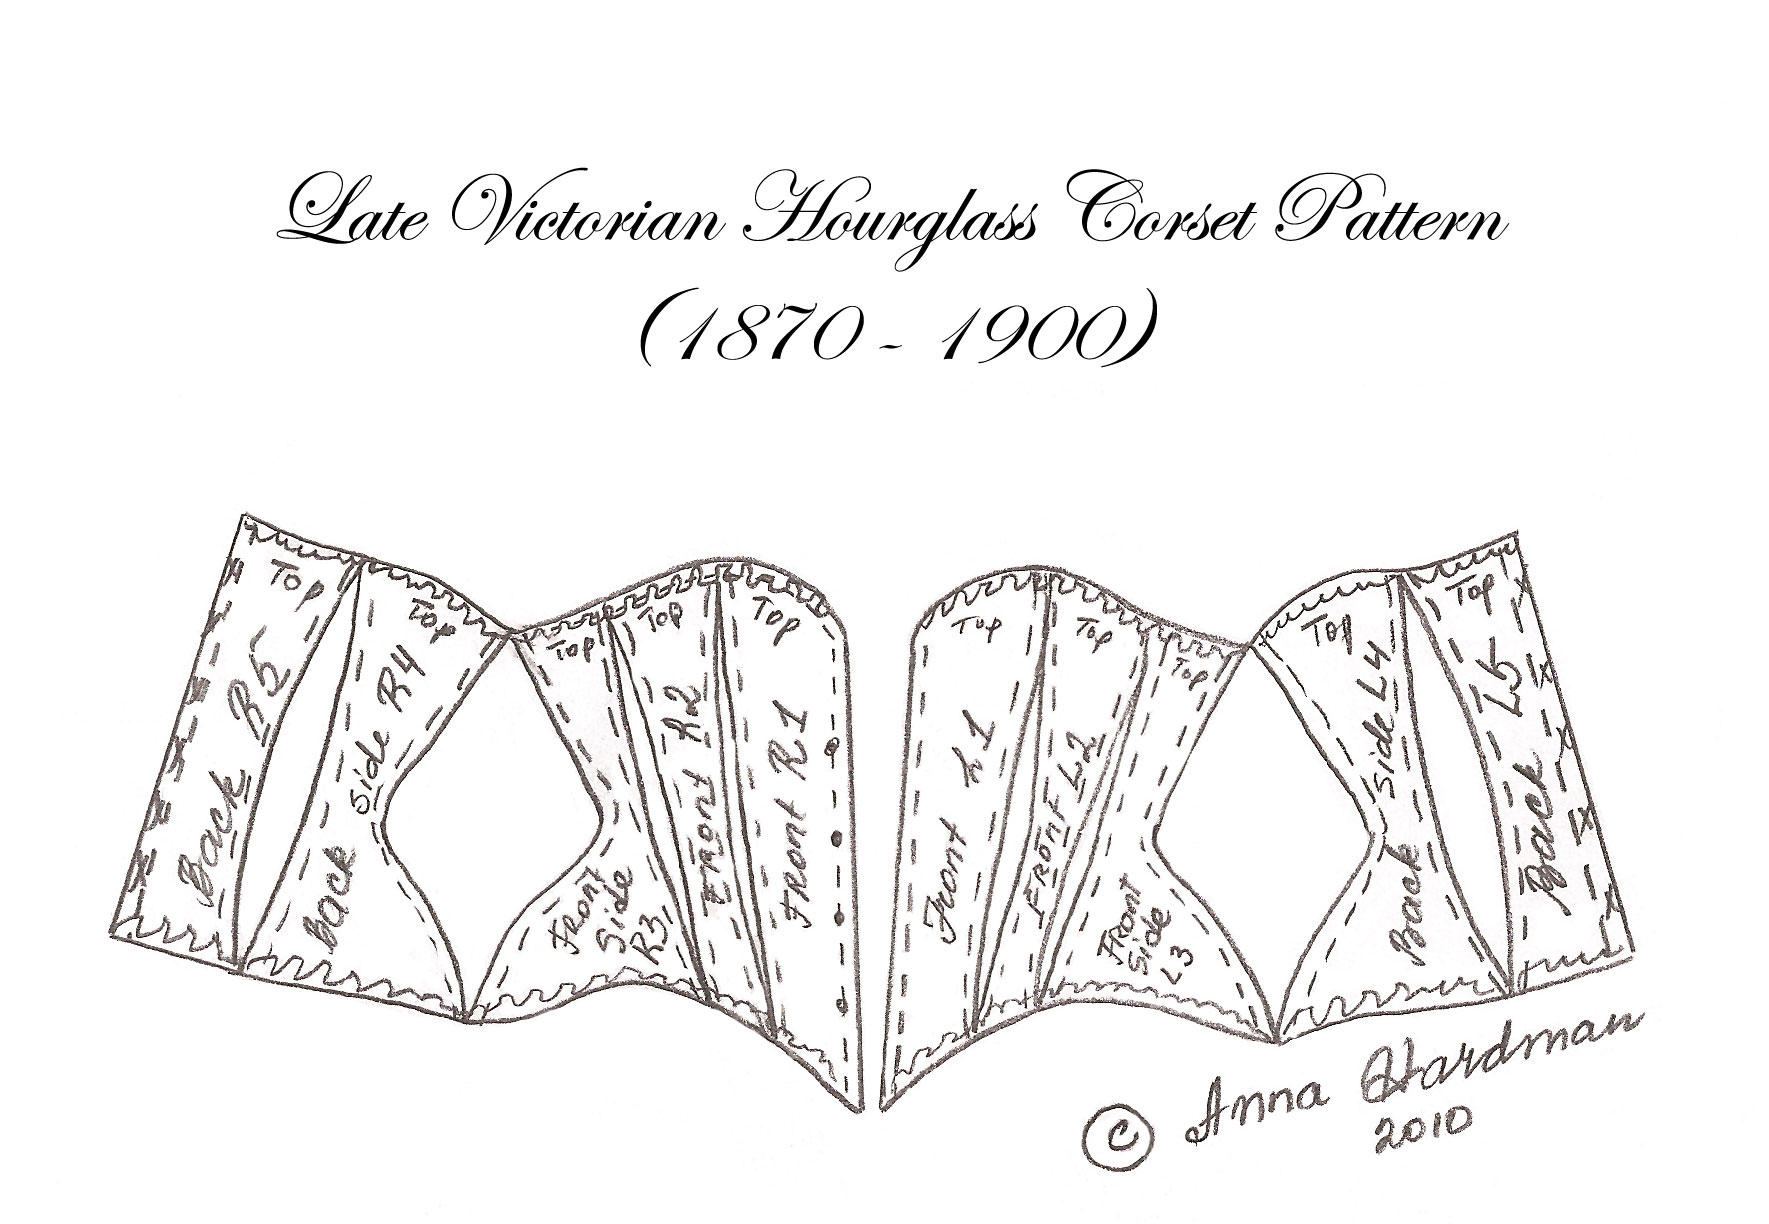
AnnaHardmanDolls.comThe CorsetI have created a miniature hourglass corset to share with you today. It is for a curvy full figure. My dolls do not have Victorian thin waists. Their bodies are more anatomically correct, closer to modern day figure. I had to adjust the pattern I made for my doll, and tuck in extra material at the hips. Enjoy!
Step 1.
Select your fabric. You can work with silk or cotton. Most of old day corsets were made of heavy canvas. I chose pretty cotton fabric and added fine interfacing on the back for extra durability. Make extra copies of the pattern.
Step 2.
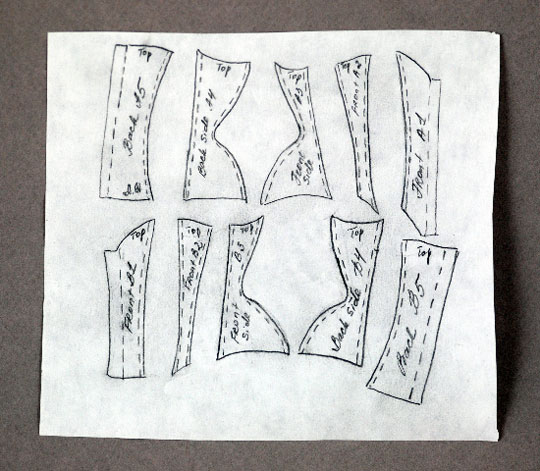
First transfer the pattern on the Freezer paper.

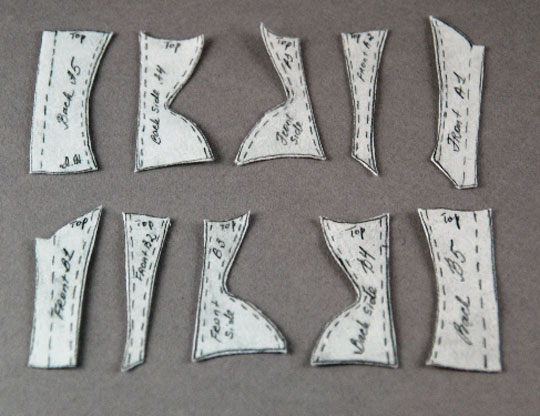
I used light and glass method of transferring. Iron your patterns on the fabric. Cut out your pieces. Carefully peel the paper off the fabric.
Step 3.
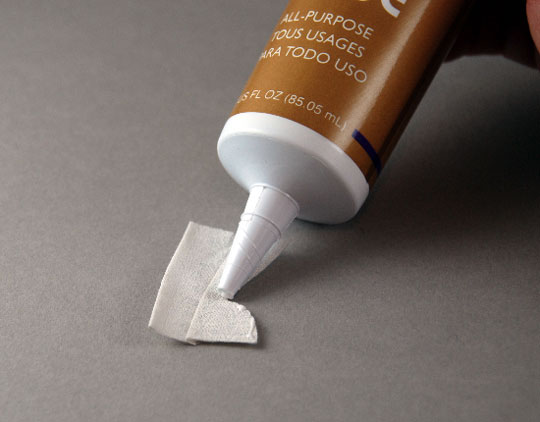
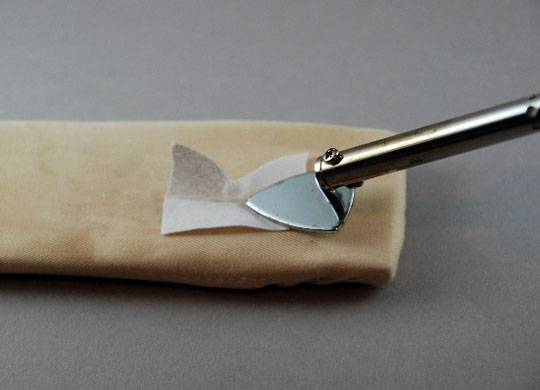
Run a tiny bead of glue on the seams, press with the iron. Your Corset starts looking like something now.
Step 4.
Now add fine laces or trim of your choice to the top and bottom of your miniature corset. I also glued tiny pearls to the front to imitate buttons. You can skip this step.
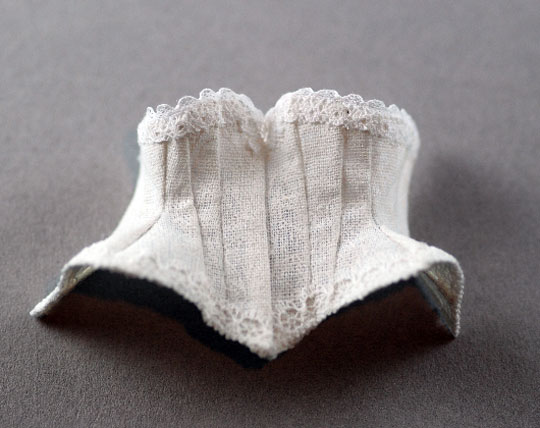
To create sophisticated lacing on the back you need to practice. It takes some experience, and there are a couple of ways of doing it. Please refer to the photos below to see both ways.
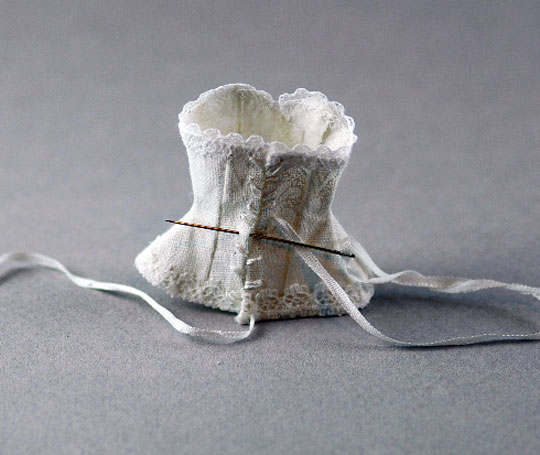
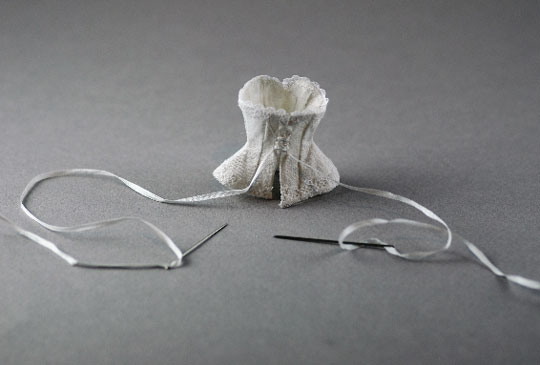
Done!
The pattern(click to see full size and print):


 The mica group of sheet silicate (phyllosilicate) minerals includes several closely related materials having highly perfect basal cleavage. All are monoclinic with a tendency towards pseudo-hexagonal crystals and are similar in chemical composition. The highly perfect cleavage, which is the most prominent characteristic of mica, is explained by the hexagonal sheet-like arrangement of its atoms.The word "mica" is thought to be derived from the Latin word micare, meaning "to glitter", in reference to the brilliant appearance of this mineral (especially when in small scales).
 Natural mica is heat resistant, acid free and lightfast. Each Tile is distinctly different from the other. They can be delaminated and relaminated making them perfect for preserving photos, pressed flowers and mementos. Uses include jewelry making, painting, embossing, collage art, card making and ornamentation. You can drill holes and add rivets. It is archival, lightfast, acid free, heat resistant. Tiles vary in shape and size. It can be easily with your sharp junk scissors. It can be stamped on, embossed, glued, painted, alcohol inked, decoupaged.....What else can you think of?


 Step 4.
 To create sophisticated lacing on the back you need to practice. It takes some experience, and there are a couple of ways of doing it. Please refer to the photos below to see both ways.
 Done!
Done!


