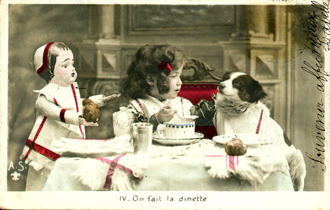
Michelle minidolls.com

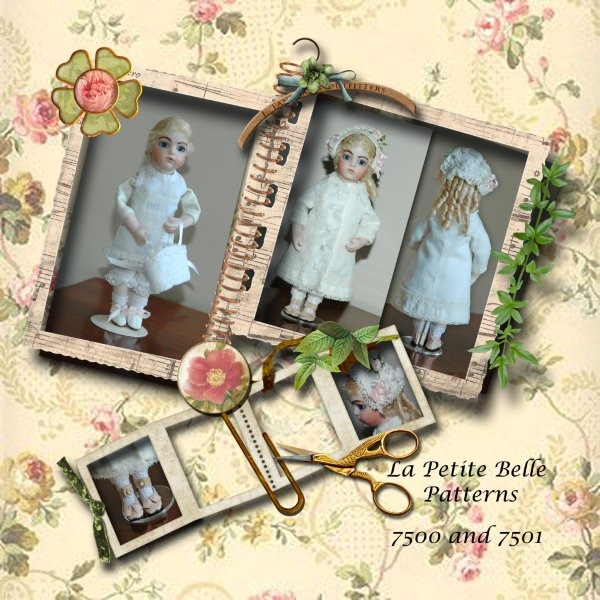 I was thrilled when I was able to buy a Cathy Hansen 6” Bru. She is so wonderfully executed and I love her “little” body. When I received her I thought she would be a more petite scale. But I have to say working with her is a dream. Though she is 6” tall her body scale is more childlike and solid. She is not chubby; nor as lithe as some 6” small dolls. To repeat, she is a dream to dress. I have attempted to make some patterns for her, but this year has caught me at a loss. I hope to continue next year adding more patterns and a new way to display her. (Is there any real new way? I don’t know, either way it will be new to me to create.) Cathy has been a great associate in developing my patterns and her style is not one I can emulate. She has a knack for fabric and trims and her taste is exquisite. To see and learn more about Cathy’s dolls you can visit her website: http://www.dollsbycathy.com/
 While we are waiting for me to finish up on some other items, new patterns, and deadlines, I thought I would share something I am doing now. The goal here is to share with you the steps to making this miniature room. I like Victorian rooms with all the knick knacks and bric-a-brac around, but don’t think I would like to clean or dust the rooms. I also like the bare necessities of a minimalist’s room, but think it is not too homey or inviting. I like my friends and my comfort. So, I think I am an “in-the-middle-est.” Yes, I think that suits me fine. I really like having my things but don’t mind them all not being out at the same time. It’s kind of like sensory overload. Since my house is for sale and I have to keep it clean ALL the time, I like having a project I can work on, and put away, but also one that I can change out as I please.


